How to Turn Any Image into ASCII Art (Free, in Your Browser)
Open your image in Glyph Studio, pick the ASCII style, and adjust Font Size until the subject reads clearly. Export it as a PNG, a video, or plain text you can paste anywhere. Everything runs in your browser and nothing is uploaded.
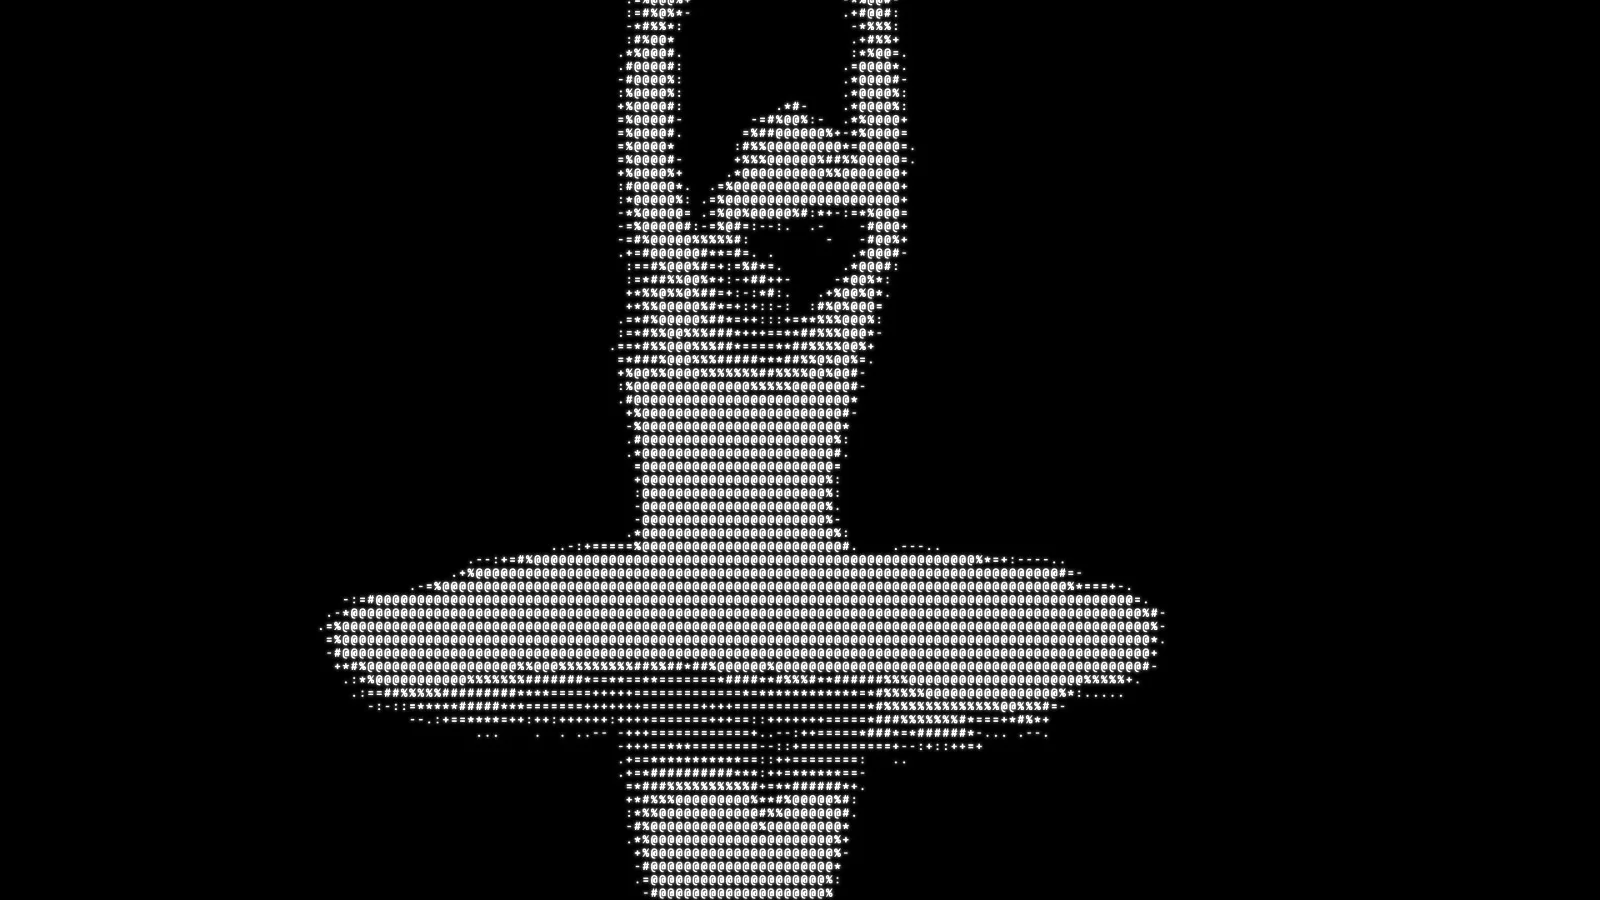
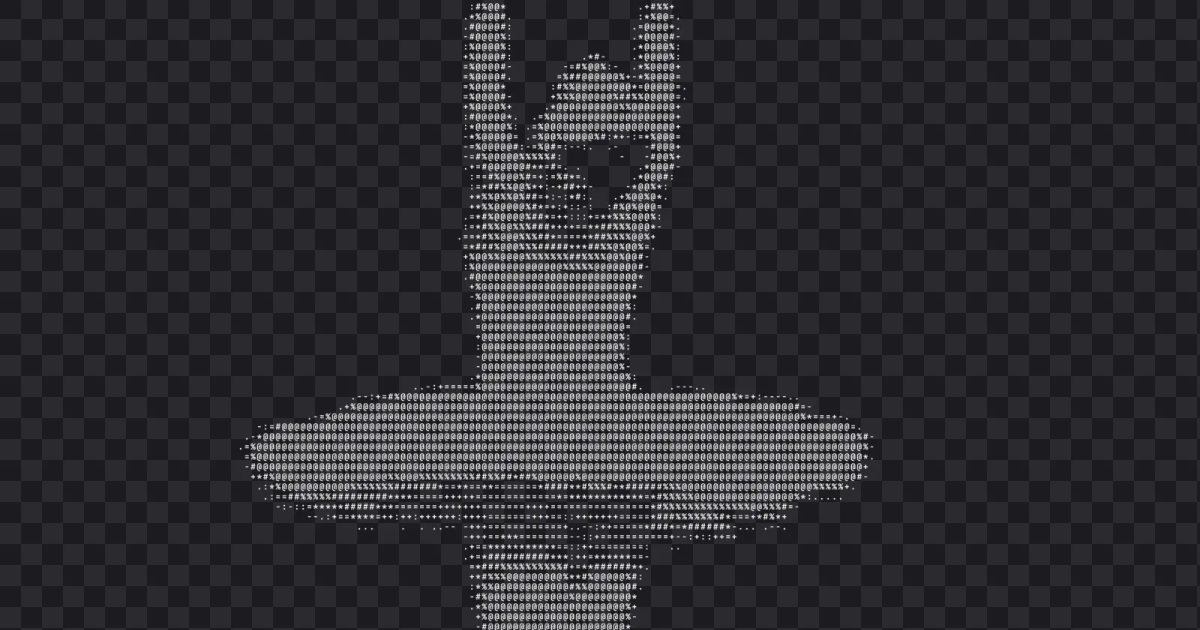
ASCII art is a picture made only of text characters. Dense characters like @ and # stand in for dark or bright areas, and light ones like . and : fill the gaps between. It started with typewriter art in the 1890s. In 1966, Kenneth Knowlton and Leon Harmon at Bell Labs built a famous nude out of printed symbols, and ASCII art has been part of computer culture ever since.
Today you don't need to place characters by hand. An image-to-ASCII converter does it for you in real time, and you get to decide how it looks.
How image-to-ASCII conversion works
The converter lays a grid over your picture. For each cell it measures the average brightness, then picks the character whose "ink weight" matches it best from a ramp that runs from light to dense:
.:-=+*#%@
A bright cell gets a dense character on a dark background, a dark cell gets a space, and everything in between gets something in between. Smaller cells mean more characters and more detail. Bigger cells mean a bolder, more graphic look.
Turn an image into ASCII art, step by step
- Open Glyph Studio. It runs in Chrome, Edge, Safari or Firefox, with no sign-up.
- Bring in your image. Drop it onto the canvas, paste it with ⌘V or Ctrl+V, or open Lab and choose Your media. Videos and GIFs work the same way.
- Pick the ASCII style. Type "ASCII" into Find a style in the style tray at the bottom, or open the Type & Glyphs group.
- Set the Font Size. This is the most important setting. Lower it for detail, raise it for a bolder look (more on this below).
- Choose a Character Set and colour. Both are in the panel on the left.
- Export. Press Export (⌘E). Choose Image for a PNG at up to 4×, Video for an MP4 of a video source, or Text to copy the characters themselves.
Pick the right photo
ASCII art reads brightness and nothing else, so contrast matters more than resolution.
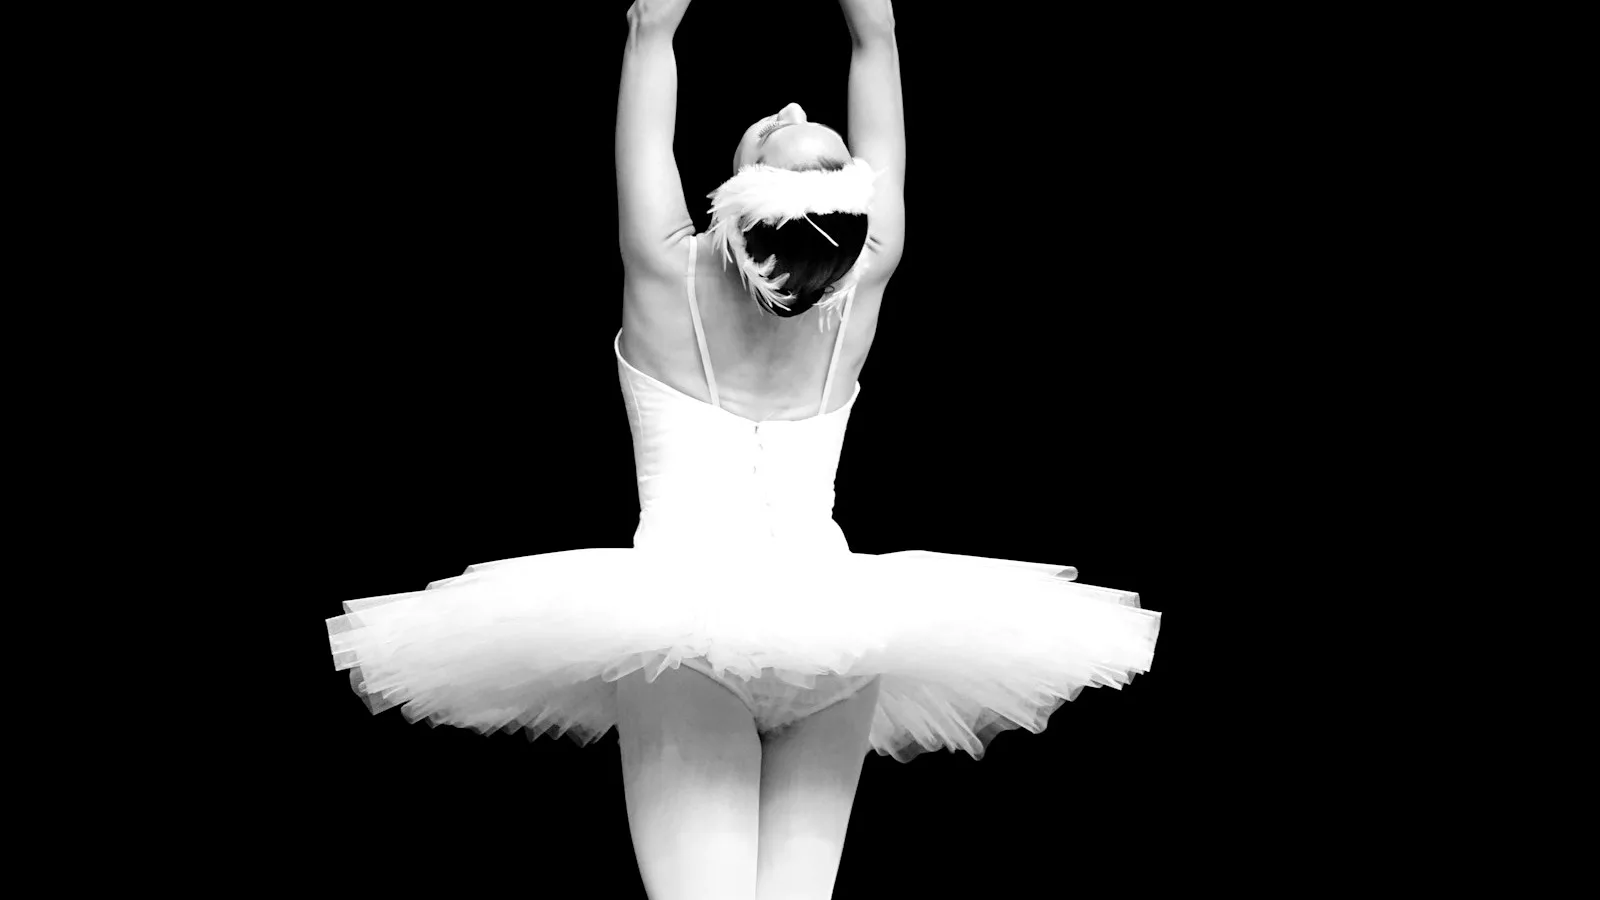
- Strong light and dark areas. A white dancer on a black stage, a silhouette against the sky, a lit face in a dark room.
- A simple background. Busy backgrounds turn into noise around your subject.
- A large subject. Faces should fill a good part of the frame, or they dissolve into a handful of characters.
If your photo looks flat, raise Contrast in the Intensity section before you change anything else.
The settings that matter
Font Size
Font Size sets the size of each character cell, from 4 px to 64 px. It's the trade-off between detail and graphic punch.
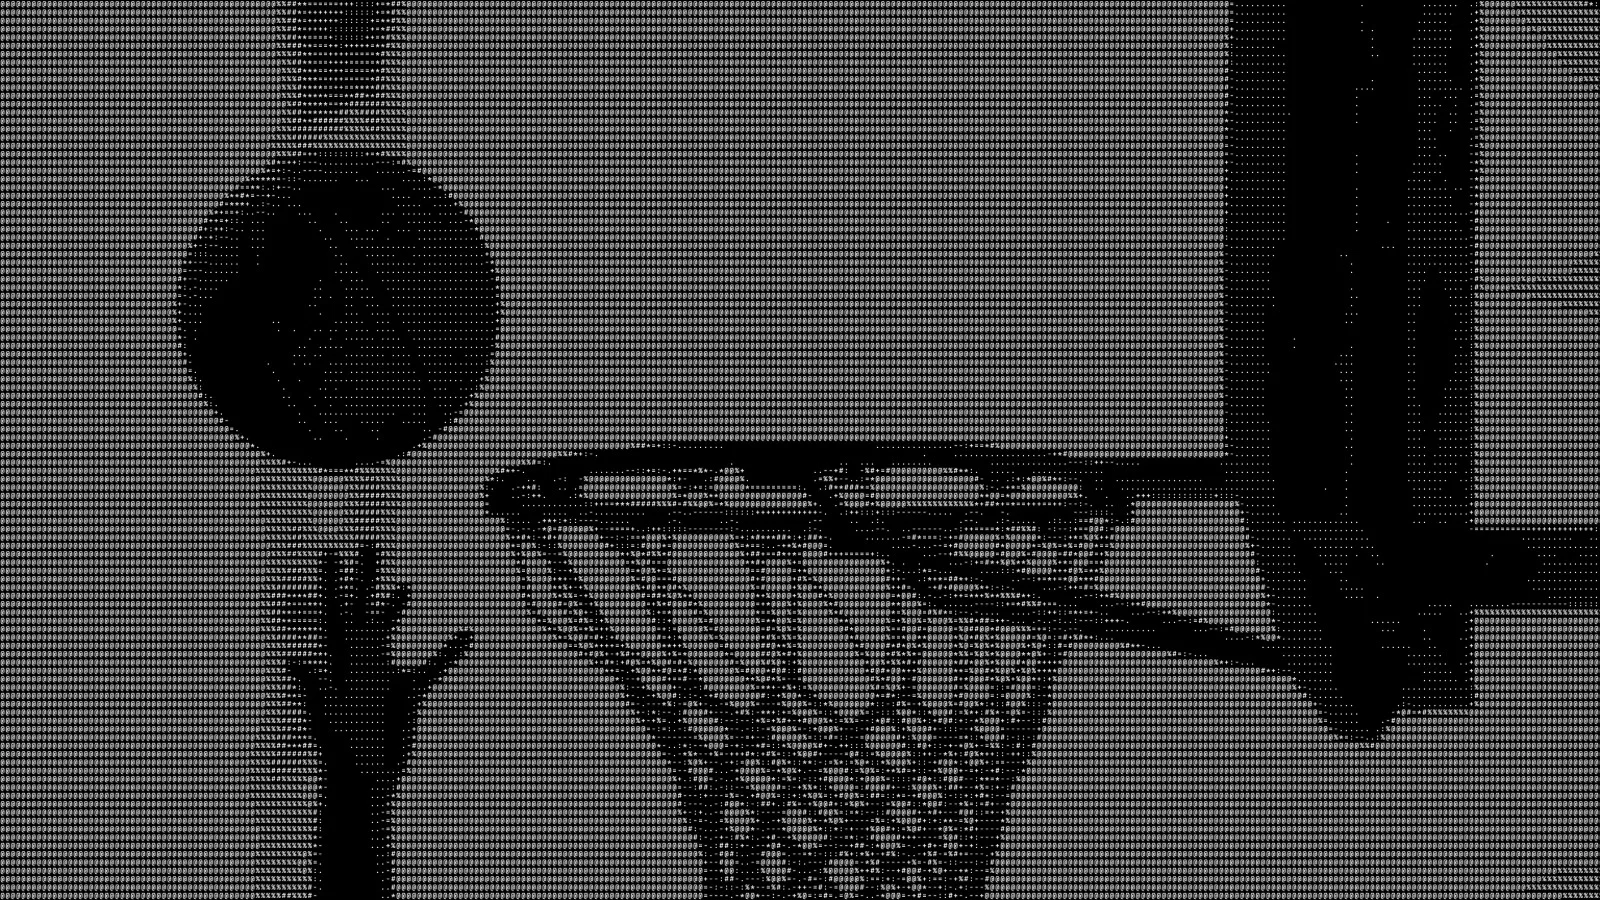
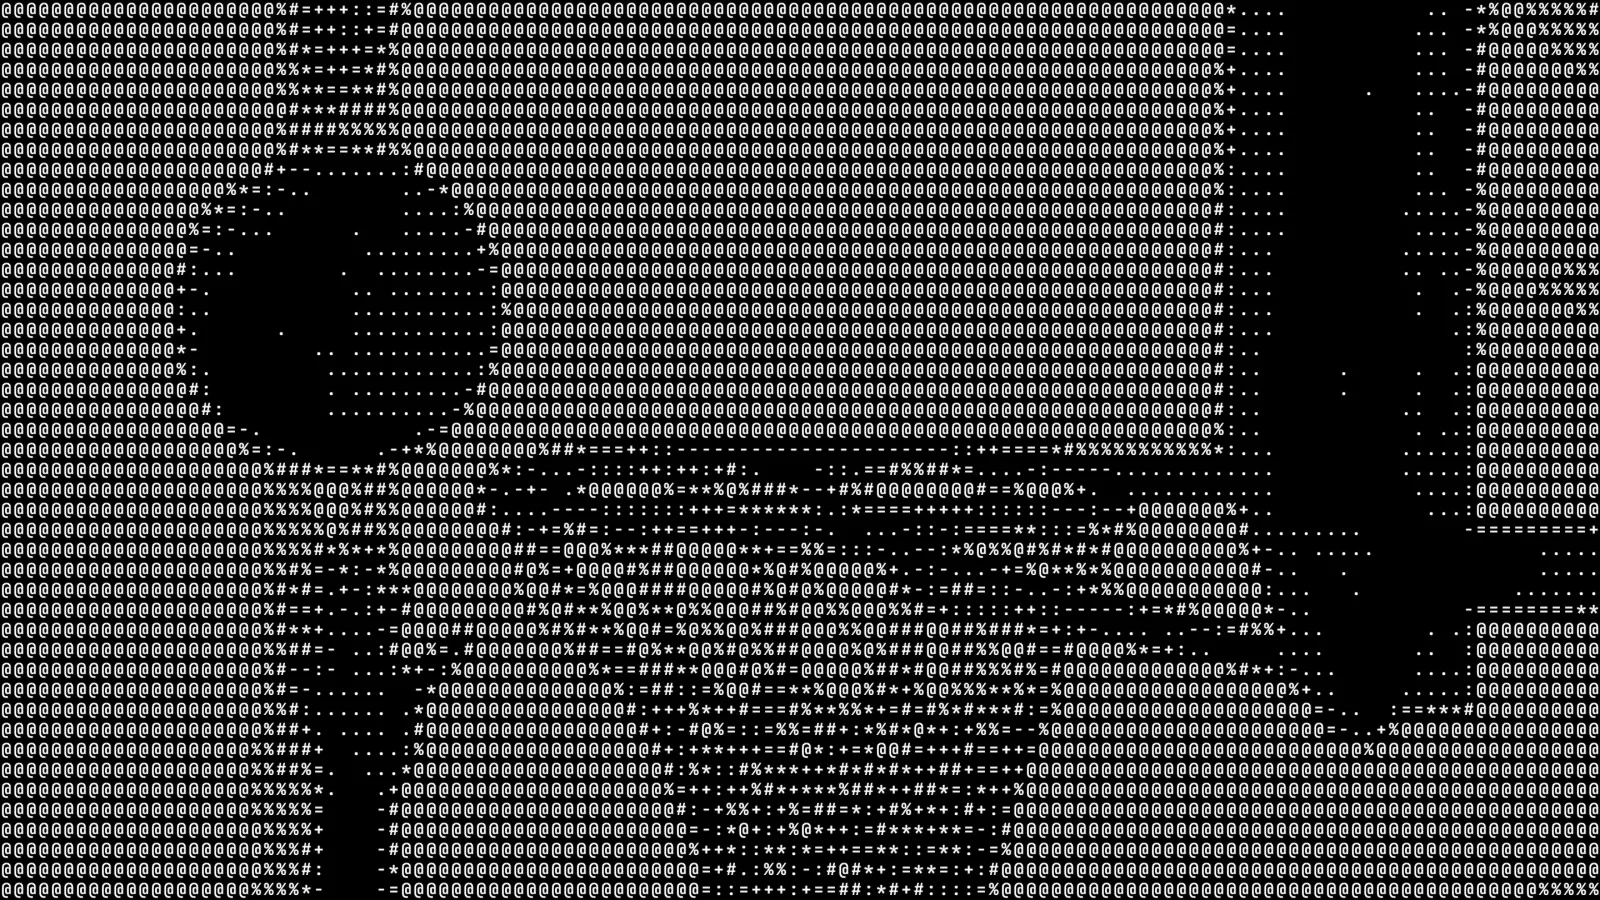
As a rule of thumb, use 8–12 for a picture that should still read as a photo, and 18 or more when the characters themselves are the point, as in posters or titles.
Character Set
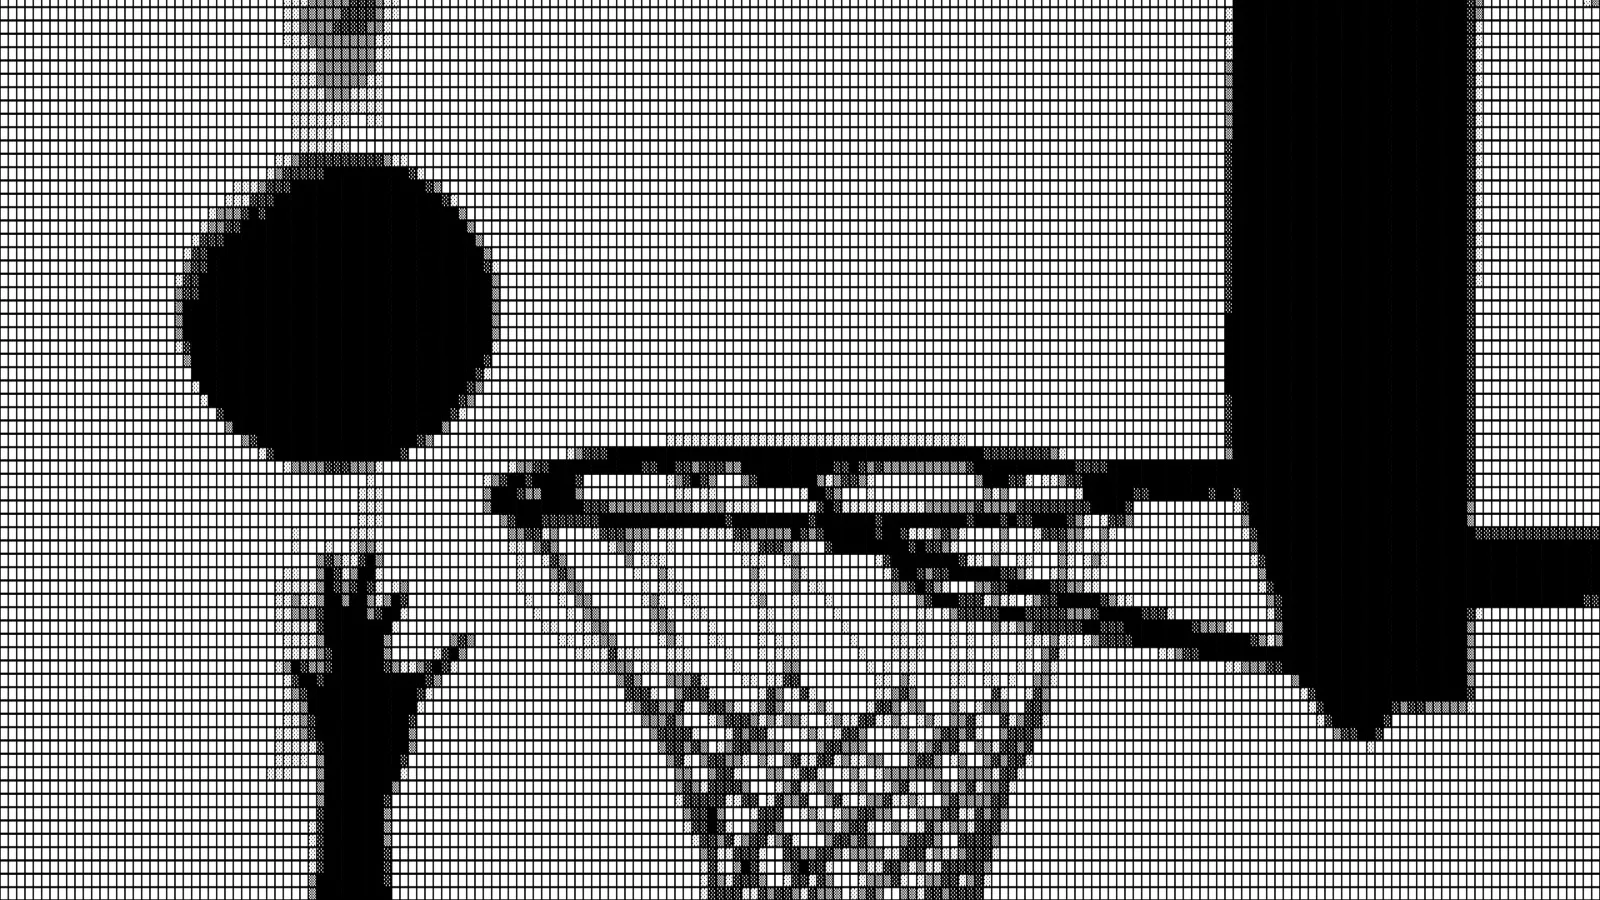
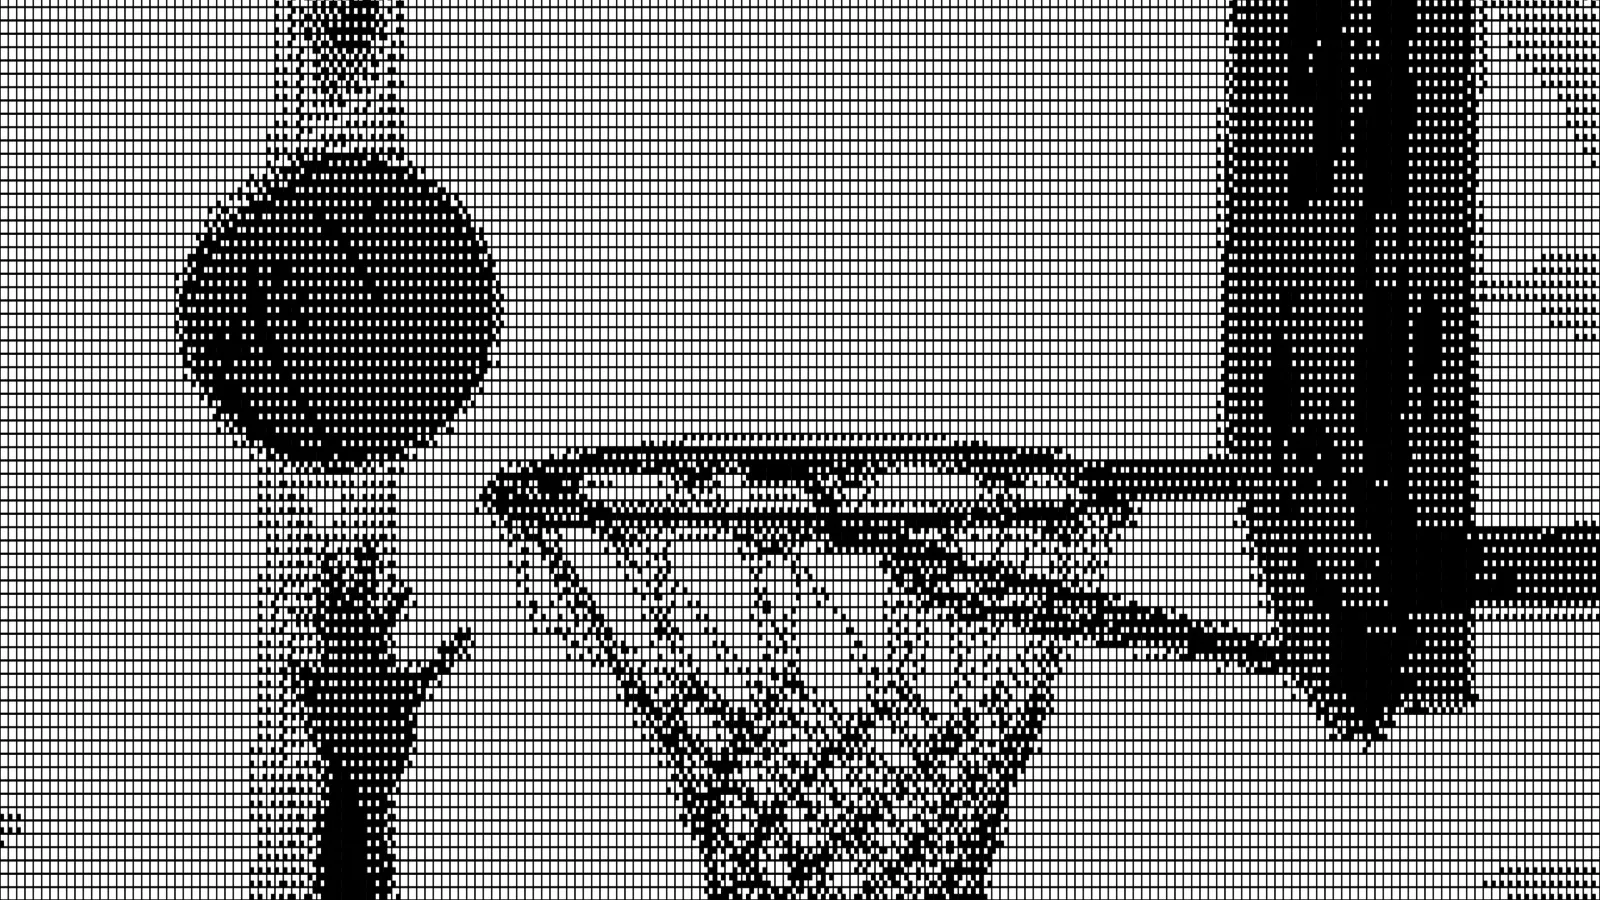
The character set is the ramp the converter picks from. Glyph Studio includes several:
| Character Set | Characters | Best for |
|---|---|---|
| Ramp | .:-=+*#%@ |
Classic ASCII art, the safe default |
| Long Ramp | 70 characters | The smoothest gradients, finest detail |
| Shade | ░▒▓█ |
Bold, high-contrast blocks |
| Quarters | ▘▚▟█ and friends |
Sharper edges than plain blocks |
| Braille | ⠁⠃⠇⣿ |
Very fine, dotted texture |
| Digits, Bits | 0–9, 01 |
The "data" or Matrix look |
You can also choose Custom and type your own characters from lightest to densest, such as a brand name or a word that matches the image.
Colour
By default the characters are white on black. Under Mark Colours, Ink Color changes only the characters, never the background:
- Source takes each character's colour from the photo.
- Vivid does the same with boosted saturation.
- Palette maps brightness onto a five-colour palette, such as Neon Night, Ember or Lagoon.
- Single Colour and Two-tone give you a classic green-screen terminal or a brand colour.
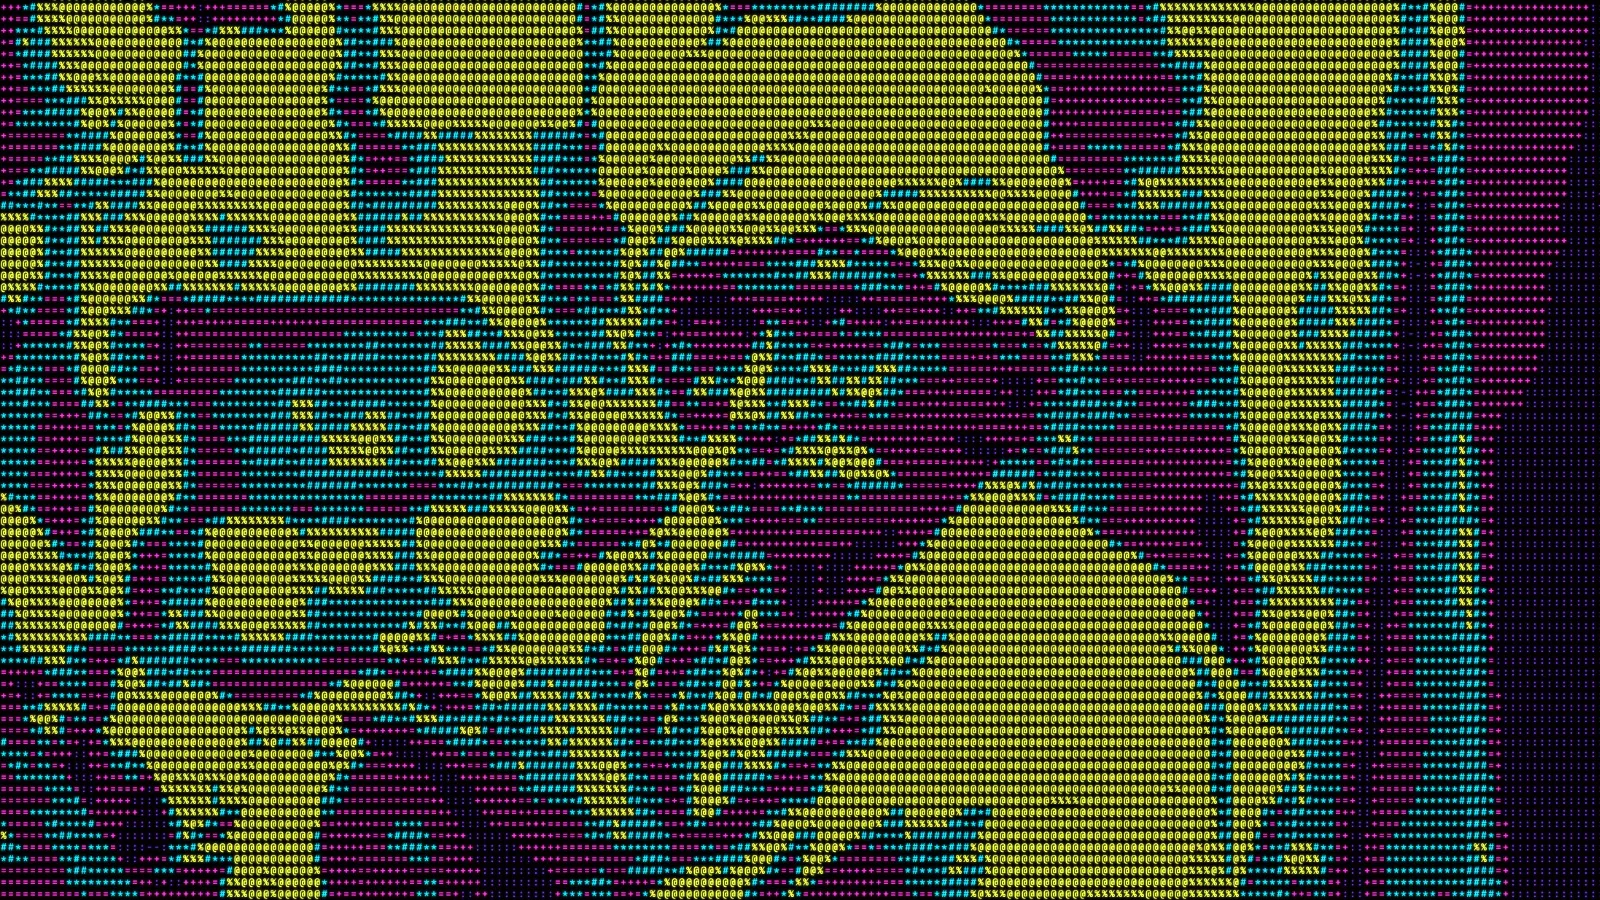
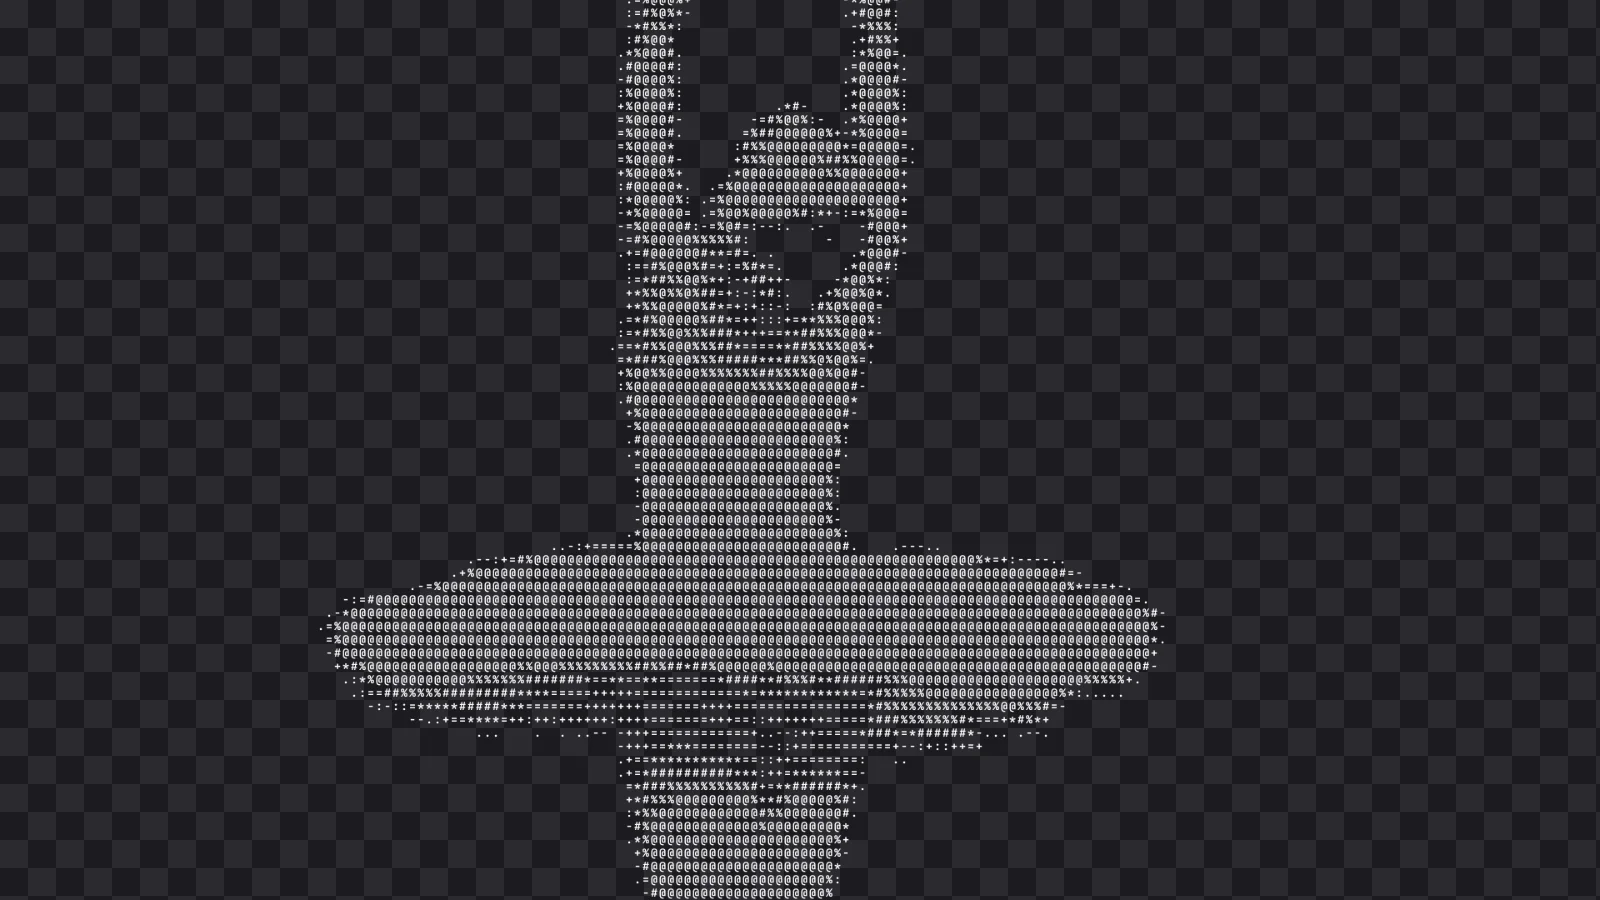
The Backdrop setting controls what's behind the characters: solid black, a solid colour, a blurred or original copy of the image, or None (Transparent).
Export your ASCII art
Glyph Studio gives you three kinds of output:
- As an image. PNG, JPG or WebP at 0.5× to 4×. Use PNG at 2× or 4× for posters and prints, because fine characters need the pixels.
- As text. The Text tab copies the actual characters, or saves a
.txtor a colored.htmlfile. Paste it into a code comment, a README, a terminal or a chat. - As video. For a video or GIF source, export MP4 or WebM. Each frame is rendered on its own, so nothing is dropped.
For overlays in a video editor, set Backdrop to None (Transparent). Then export a PNG (it keeps transparency) or a transparent MOV. Exporting transparent video for After Effects walks through the video side.
ASCII art from video and your webcam
Everything above works on moving images too. Open a clip from Lab, or choose Webcam to see yourself as ASCII art live. On the webcam you can record the styled camera with your voice and save an MP4. All of it runs on your own GPU, so even the camera feed stays on your device.
If you like this look, dithering and halftone are its closest relatives: both build images out of a few marks instead of smooth tones.
FAQ
Is this ASCII art generator free?
Yes. Every style and export in Glyph Studio is free, with no account and no watermark.
Are my images uploaded to a server?
No. Glyph Studio renders everything on your device with WebGL. Your photos, videos and webcam feed never leave your browser.
Can I copy the ASCII art as text?
Yes. In Export, open the Text tab to copy the characters, or save them as a .txt file or a colored .html page.
What makes ASCII art look good?
High contrast, a simple background and the right Font Size. Start around 10 for photos and go bigger for graphic posters.
Can I turn a video into ASCII art?
Yes. Open the video, pick the ASCII style and export MP4 or WebM. Every frame is rendered in full, and you can also apply it live to your webcam.